Showing posts with label tutorial. Show all posts

Thursday, November 1, 2012

A Christmas Story Leg Lamp Halloween Costume Tutorial

One of my favorite Christmas movies is "A Christmas Story".  I watch it at least once every year and it still makes me laugh everytime.  (Dont you just love movies that are like that!)  I was brainstorming for cute costume ideas and the thought of the lamp crossed my mind.  The more I thought about it, the more I figured out how I could construct a costume for the lamp.  I almost didn't do this costume because I was short on time.  I did a search and there is a commercial Leg Lamp costume available, but I just didn't like the way it looked.  I finally decided  to give the costume a couple of hours work and see if I could get it done in that time frame.


 I started with some cheapo wire hangers.  You know the type you get your stuff back from the dry cleaners on.  I unwrapped the top section so I had one long wire.  I pulled on it some and used some pliers to help me straighten them out (not perfectly straight, but that's ok).  I then figured out about how long I wanted the lampshade to be from top to bottom and cut 4 lengths of wire to just a bit longer than that measurement.  I used 2 more stretched out hangers (connected them together by simple wire wraps) to form 2 rings.  A smaller one for the top part of the shade.  I did a rough shape bend on the 4 straight lengths of wire so that the shade would have the proper shape when put together.  The next part was the trickiest as I was home alone and only have two hands.  A friend willing to do some holding would have made this step much easier!  I used some simple wire wraps to attach the 4 straight lengths of wire to the 2 rings.  I did these as tight as possible, but the whole frame was very wonky (unstable if you're not familiar with my high tech terms).  I then wrapped stained glass foil tape around all the unions of wire and soldered the crap out of them to make a little stronger union.  No, you cant solder the hangers themself, but the tape/solder creation I did (which anyone schooled in soldering would cringe at) held it long enough for the next step.
I grabbed a roll of electrical tape and wrapped the crap (another highly technical term) out of  the top and bottom rings, and especially all the unions.  This made the frame pretty stable and I was happy with it.


 I tied 2 strips of a thin black ribbon close to the wires to make shoulder straps to hold the costume in place.  I forgot to take a picture of this, but its very important!!  At this point, I pulled out the cheapo fabric I had picked up from Hobby Lobby.  I bought 2 yards of this stuff and really should have gone with another 1/2 yard as I had to pull and manipulate it slightly to get it to size.  I started at the bottom (the larger ring) since I had to make sure the fabric wouldn't have a gap down there.  I glue gunned the fabric together, and then did a glued the fabric around the bottom (larger ring).  I also glued the fabric partially up those bended wired of the frame so the fabric would follow the shape of the frame instead of making a straight slant down to the bottom.  I flipped the frame over and glued the top in place.  I glued the fabric to the rest of the bent wires to increase the shape accuracy.  I then started making pleats and gathers in the fabric so the shape would look correct.  I went through a lot of glue doing this.  As a side note.  I was watching "Magic Mike" while using the glue gun.  I would not recommend that combination.  Its just a bit to distracting.  I have never burned my fingers that much when glueing!!!!

After the fabric laid down the way I wanted it to I pulled out the fringe trim I had also purchased at Hobby Lobby.  (Again, I had bought 2 yards, and actually had to go back and by 6 more inches to finish this, so if you're going to do this project, start with 2 1/2 yards of each and save some frustrations.  I glued the fringe onto the bottom (Larger ring area)


 Its done.  (Took about 3 hours total)  I added some fishnet thigh-his, and black heels to make the outfit complete.  I also wrapped a string of battery powered Christmas lights around my belly so I lit up like a lamp.  To make my costume even more fun, I dressed my husband up as Ralphy from the movie.  Poor guy shot his eye out, you know?!  I had a lot of fun making this costume and we got a lot of compliments and laughs from everyone.  I hope you enjoyed seeing how it all came together

Thanks for stopping by!

Monday, March 12, 2012

St. Patty's Day Top Hat Fascinator Tutorial

I saw these adorable little hats at Claire's and I really liked them.  I thought about buying one, but decided I'd try to make my own and then maybe I could continue making them for different seasons and holidays.  I started by cutting out 2 circles, one bigger than the other, and a long rectangle.  These will form the visible hat.

Taking the long rectangle, I cut the edges and folded them up so I would be able to tape them to the top and bottom circle.

 Here you can see the rectangle taped together to form the main part of the hat.  I simply taped the cut edge down inside the hat.  Later I went back and reinforced beneath this with glue to make the bond more secure.
 I found some leftover sticky back black felt and I cut out a thin long rectangle to form a hat band and attached it slightly up from the hat "joint".
 I also cut out some shamrocks from the glitter paper and glued these onto the hat band.  I used a circle of the sticky back felt (cut the same size as the larger green circle), cut a slit in the felt and put a barrette (I changed this over to a hings style barrette to make it easier to open and close and attached the circle to the tophat.
I added some glue to areas that seemed to have gaps from the tape and let it dry with a bit of weight on top.  Now I've got a fun new hat to wear for St. Patty's day!

Thanks so much for stopping by.  I'll be linking up to some of the parties found in my sidebar and also here:


  Tip Junkie handmade projects


Dragonfly Designs


 Today's Creative Blog 
 
  DIY under $5
Pink Hippo Party

Thursday, February 2, 2012

Bottle cap music note ornament tutorial

I have a tradition of making ornaments for all of my piano students each year.  This year I came up with these personalized music note ornaments.  I used the same concept as gifts for my church choir but substituted a picture of the painting I had made of the church inside the note head.  These were fairly easy to make once I got the hang of it.

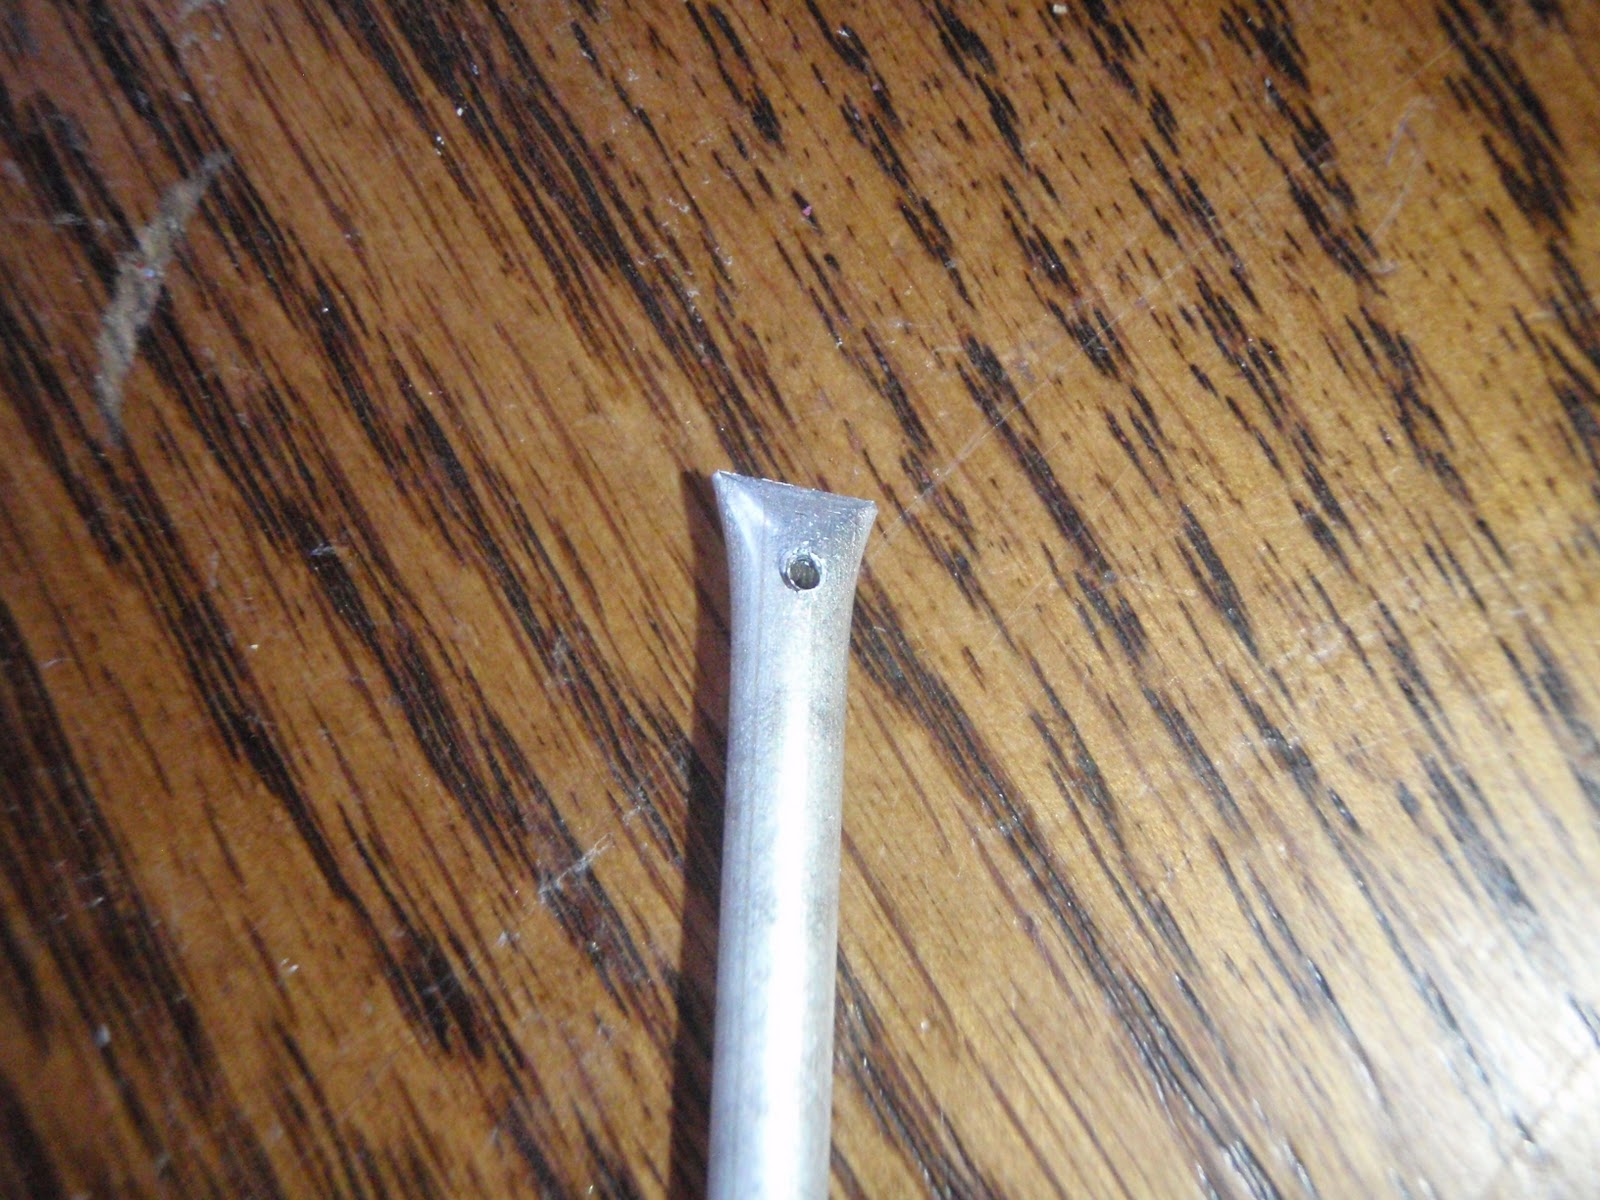
I had some tubing in my stash that I had picked up on clearance a long time ago.  I simply cut them down to a reasonable length.

Bought bottle caps (the used ones all had dents from openening so I couldn't recycle!)

Added some copper foil so I could solder them


Soldered the whole thing together

Drilled a hole which I thread some wire through for the hanger.

Added the picture or the name, layered on some Glossy Accents, and then threw a glass pebble over the top to give it dimension.


I think they turned out cute and everyone seemed to like them.
Thanks for stopping by.

Linking to:

Related Posts Plugin for WordPress, Blogger...